
After the comments I received on my previous post discussing the importance of backgrounds in a composition, I thought it would be helpful to follow up with a simple discussion on the impact of light.
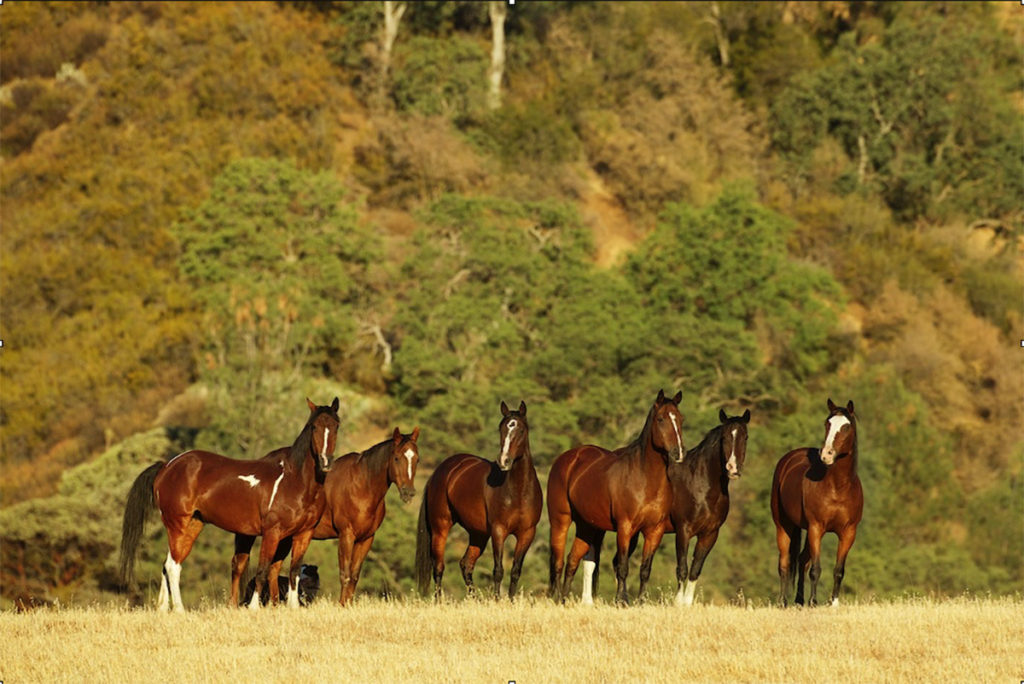
PRETTY HORSES
One of the first images I show during my presentation at the Spirit-N-Light workshops is one that I call “Pretty Horses.” The subject is striking and popular, and the light is pretty—fully illuminating the subject with front light (also considered flat light). Depending on your desired outcome, there are times when you may want to create those “pretty light” images. There are also fast action situations in wildlife photography when this light helps with contrast and fast shutters for sharp images, but the action also holds the viewer here. Rarely would you want an entire gallery or website full of pretty images in pretty light. Most people, when viewing these types of images one after another became bored and move on.
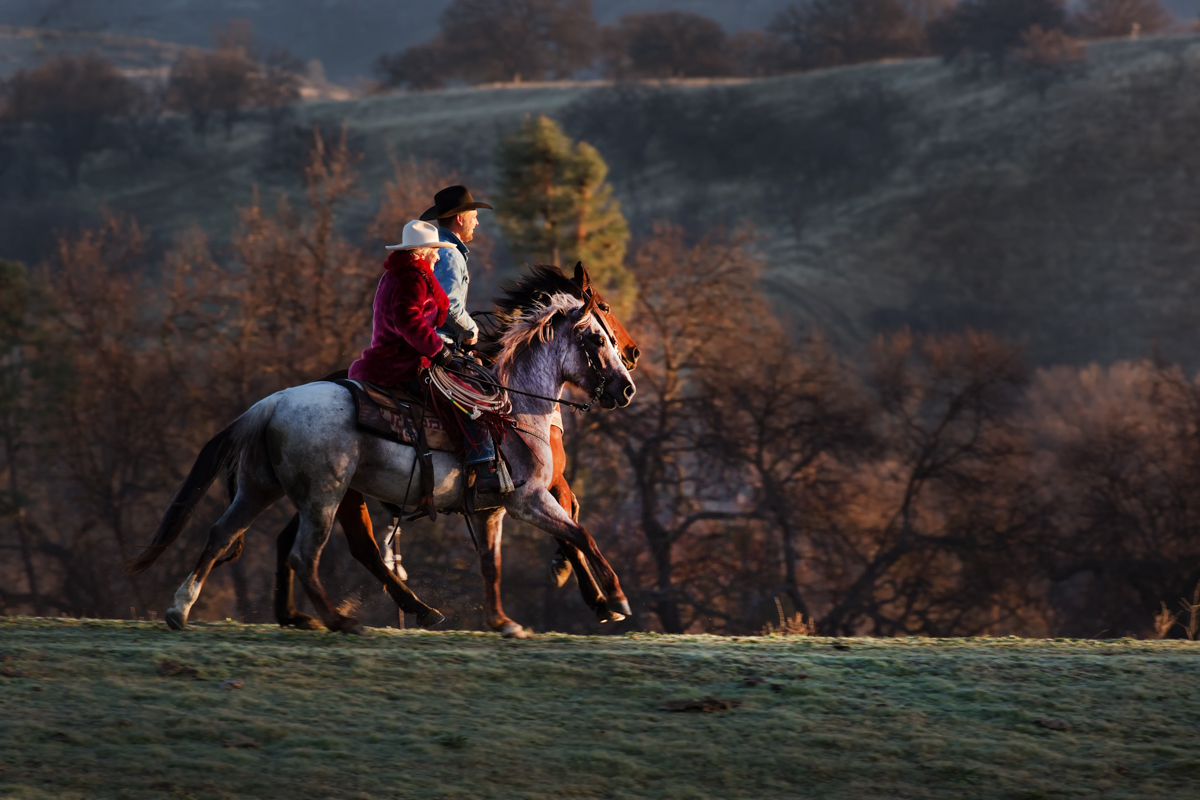
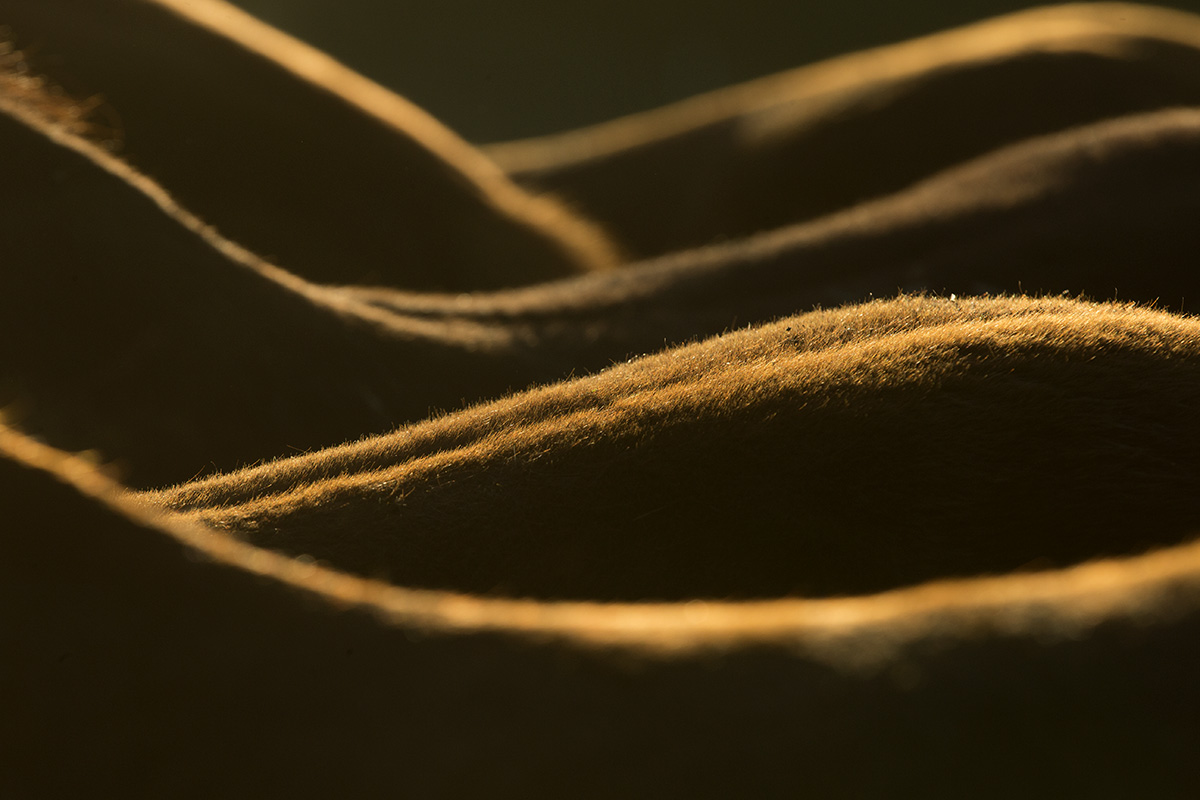
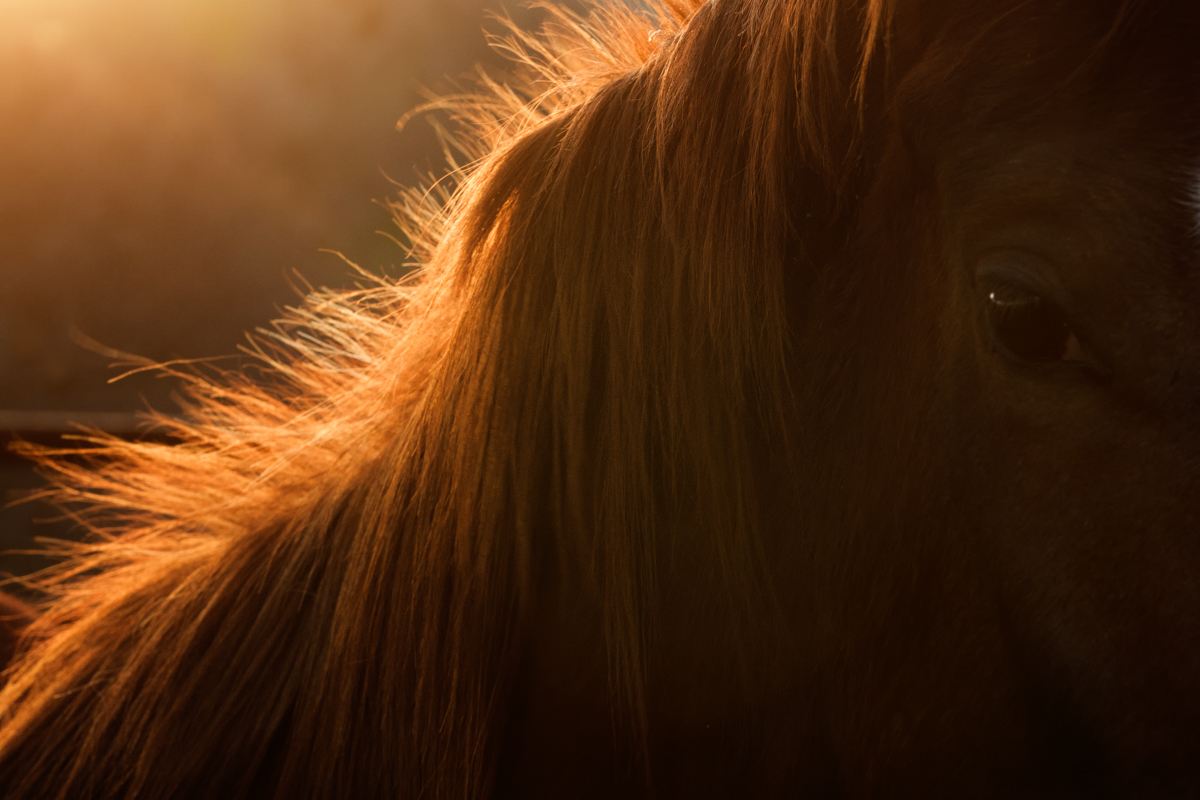
SIDELIGHT
Sidelight, coming from the side of your subject (and generally camera), creates shadows. Shadows create shape, and shape creates depth, creating interest that holds the viewers’ attention. Sidelight is what I prefer to position for most of the time. The best sidelight for environmental images is usually available at sunrise (the first two hours of the morning) and again for the last one or two hours of the day, depending on your location. For portraits and details, you can use natural sidelight throughout the day.
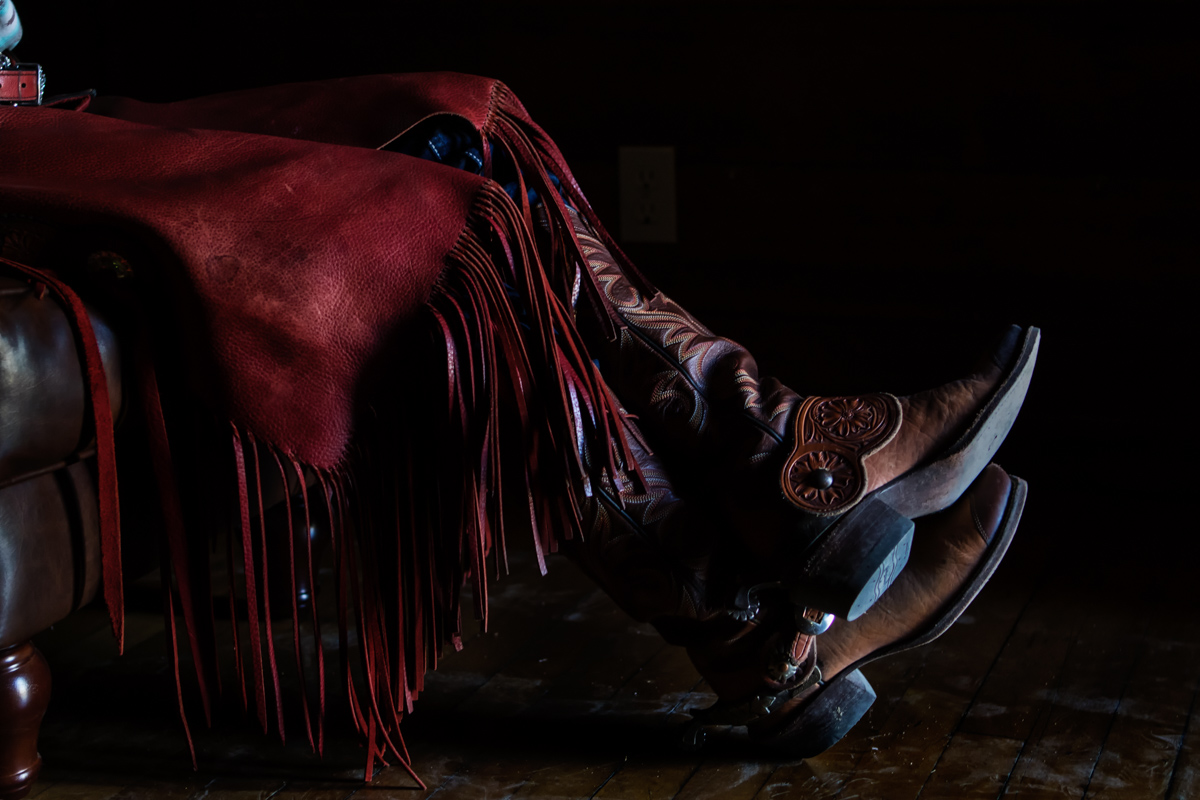
Photographing details using sidelight really adds value to a still subject.
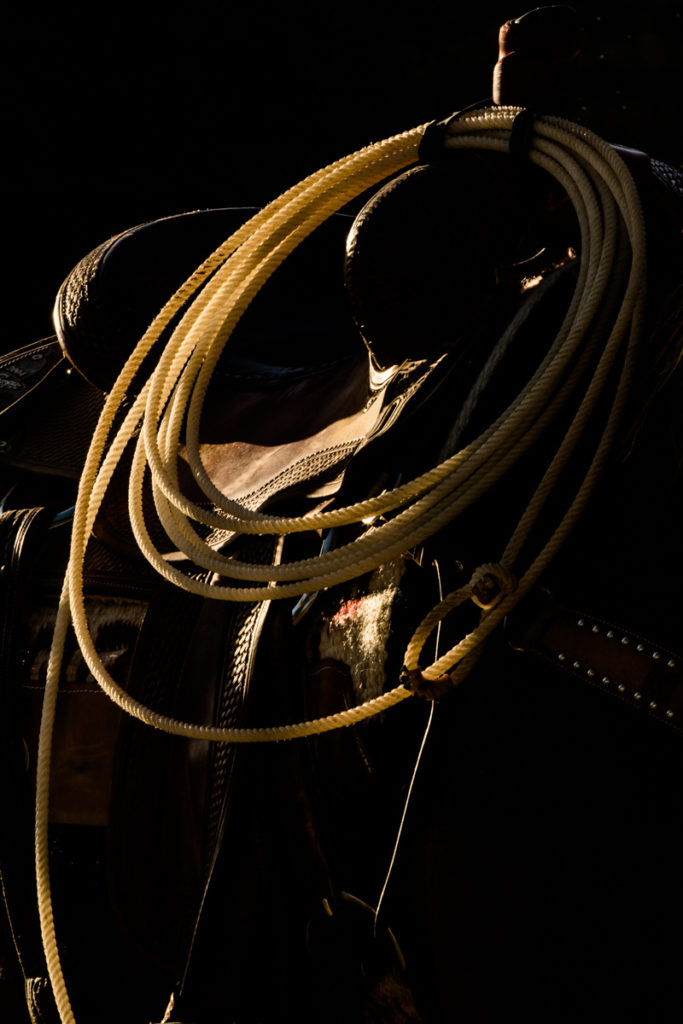
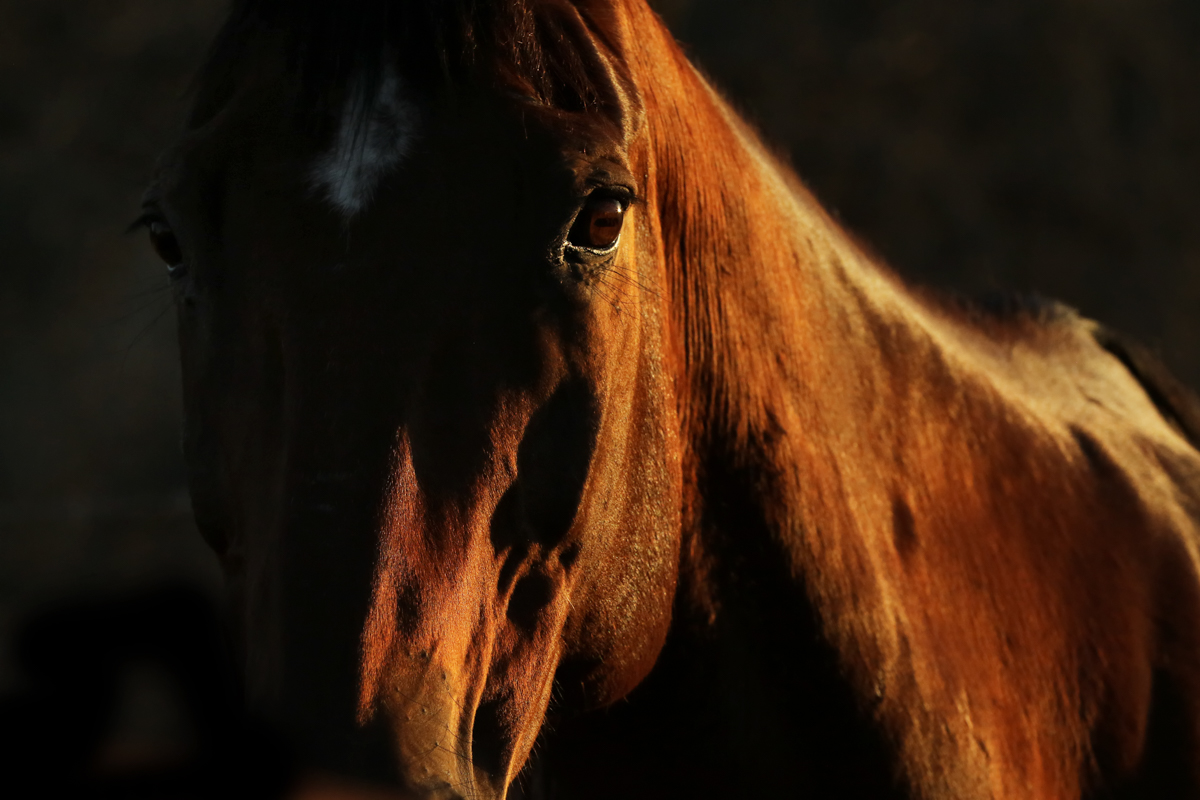
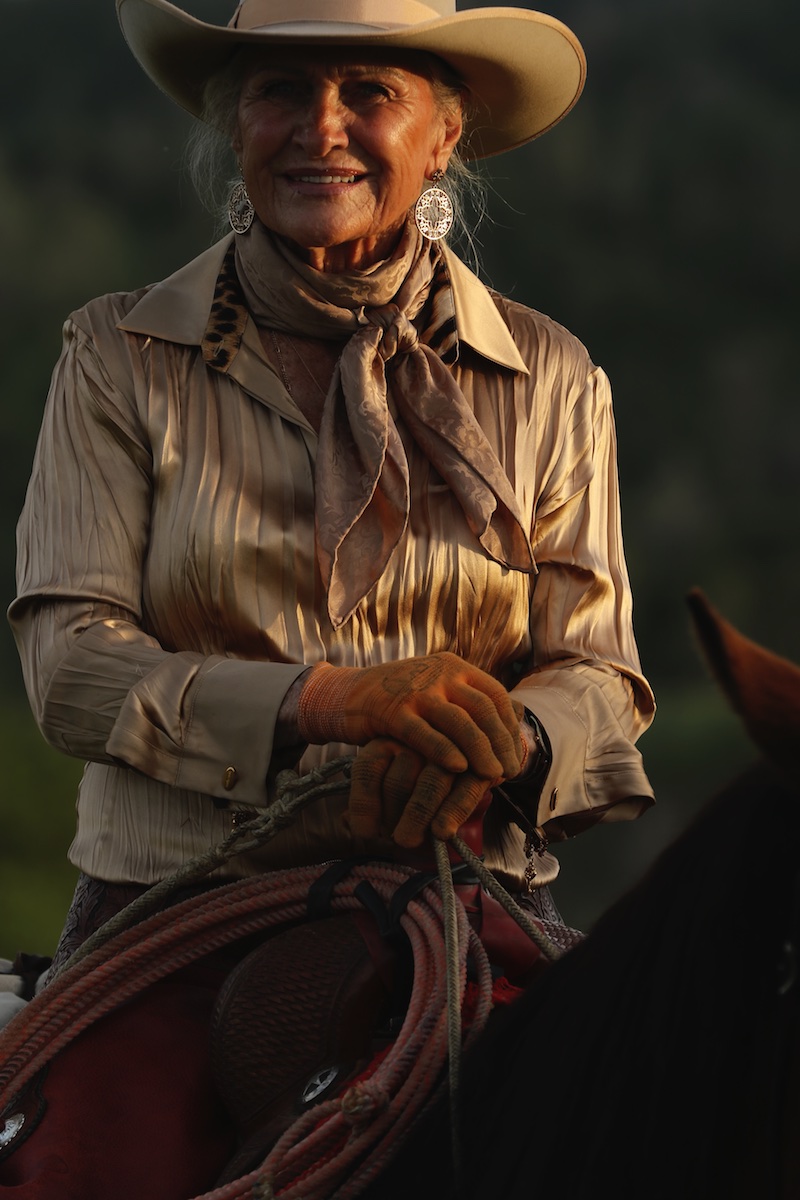
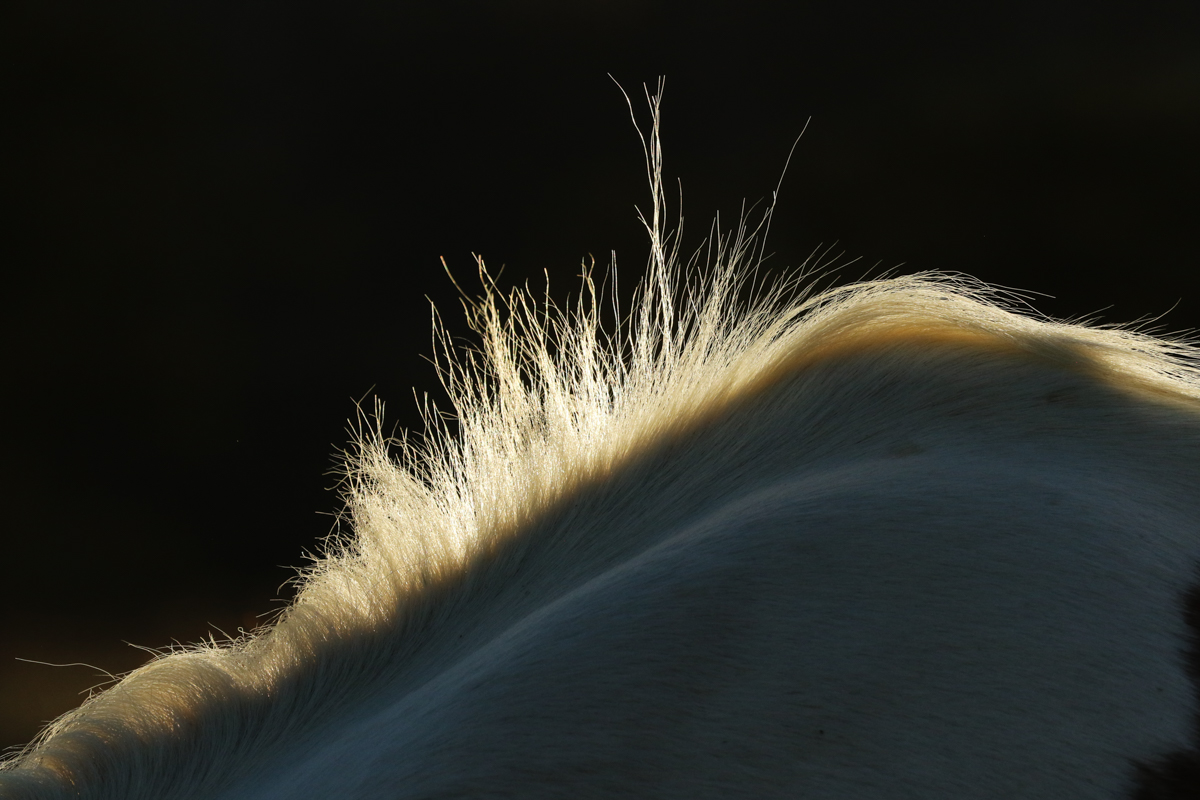
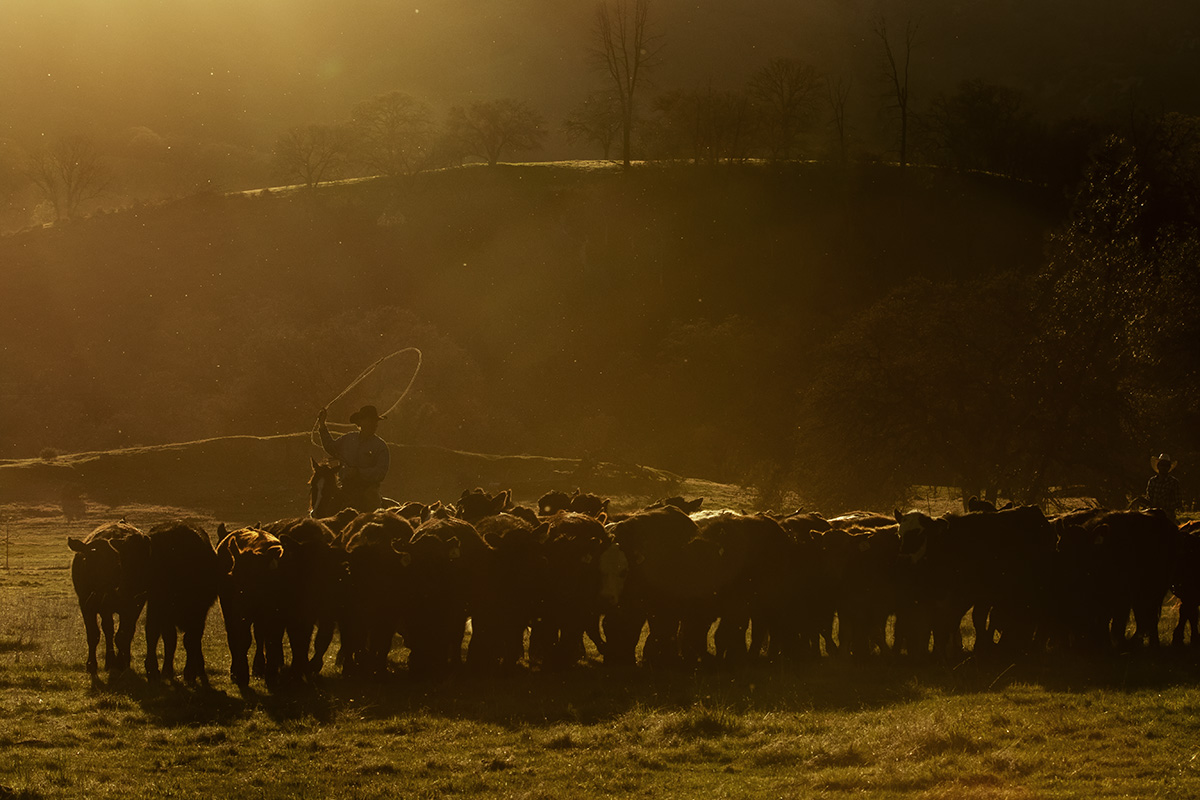
RIM/EDGE LIGHT
Rim light, also known as edge light, is a very dramatic and creative use of light. This light also comes in from the side to the back, but you have a much more limited amount of time to use the natural light. Rim light works best in the first 30 to 45 minutes past sunrise and the last 30 to 45 minutes before sunset, depending on your location. Exposure and contrast also become important with rim light. You want to make sure to expose correctly for the rim light, so that you do not blow out the details; generally you will need to stop down (underexpose/taking away light) to achieve this. The contrast of a dark background adds to the drama. Although you may still see some rim light against medium backgrounds, the lighter the background is, the more it will just absorb the rim light effect.
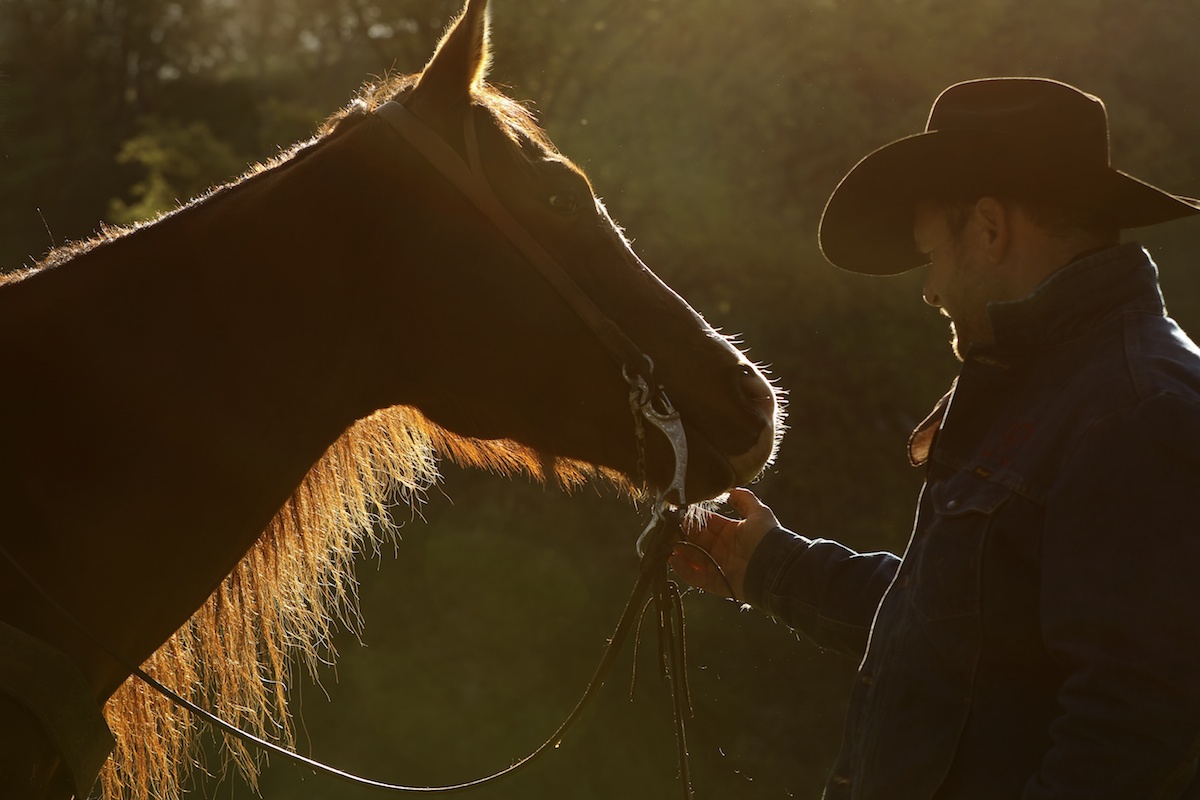
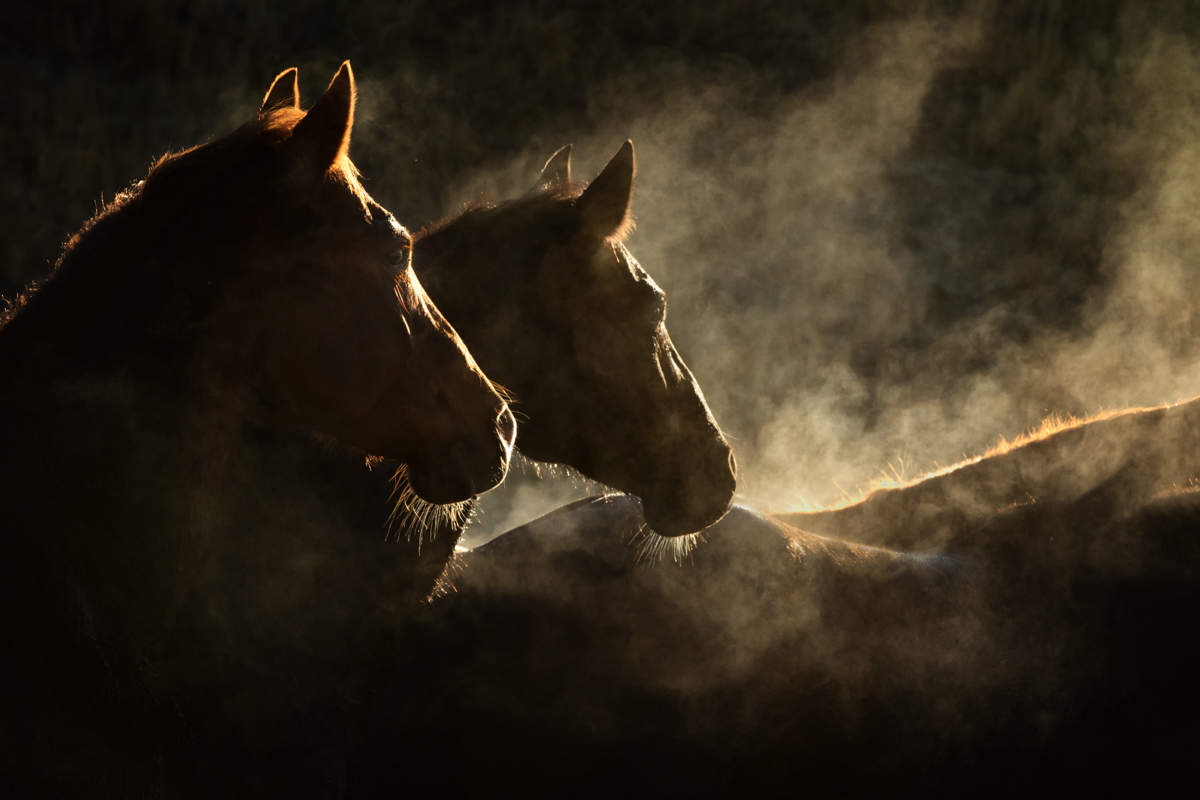
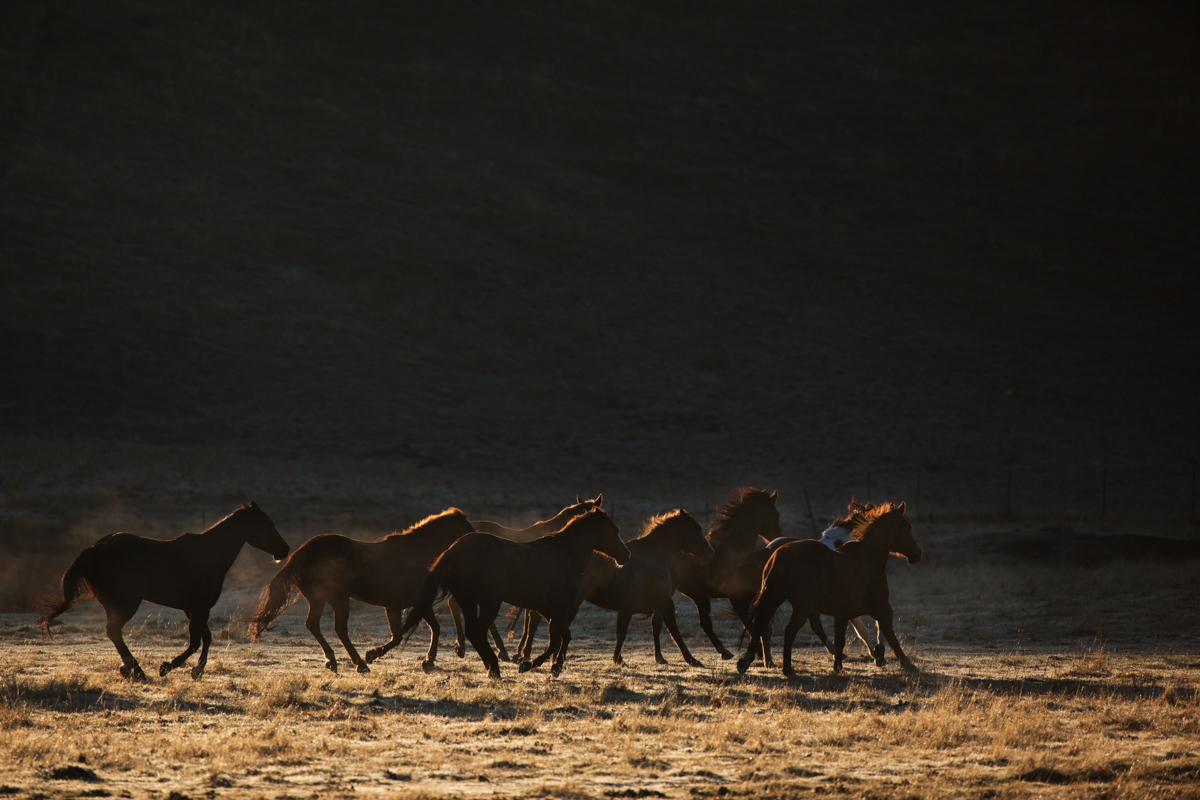
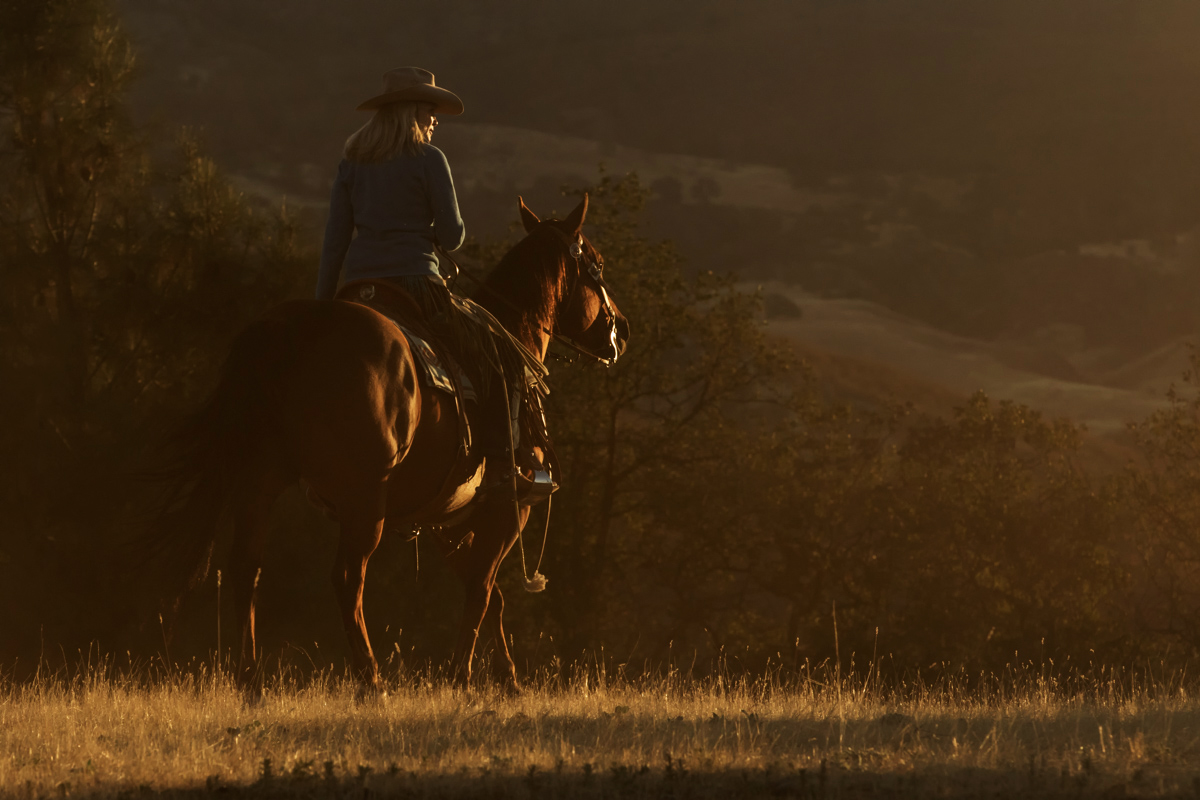
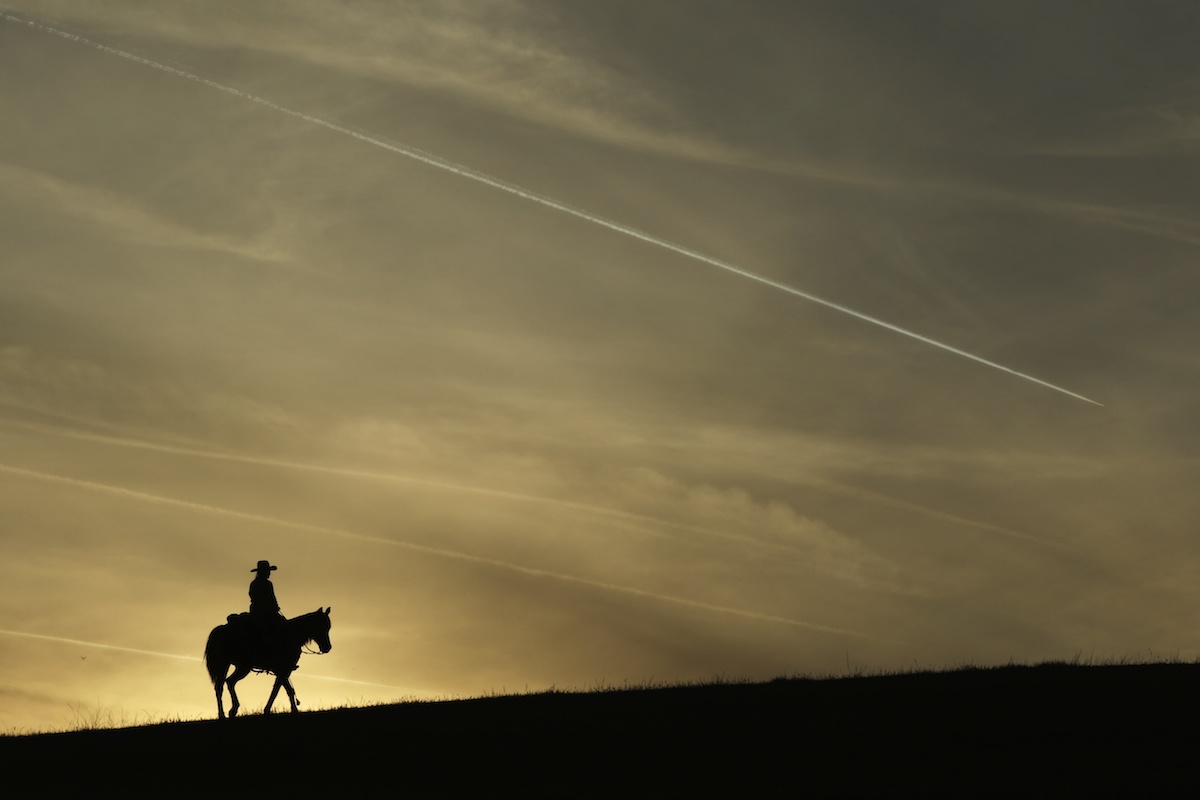
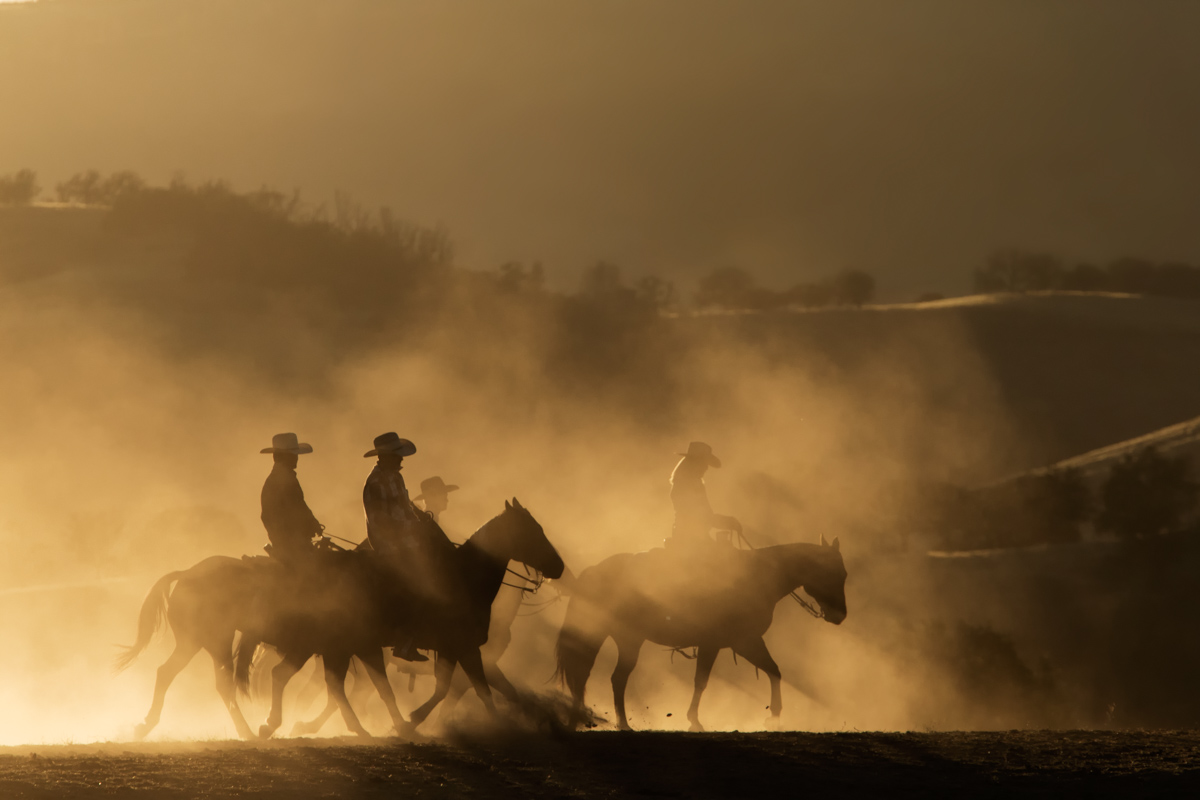
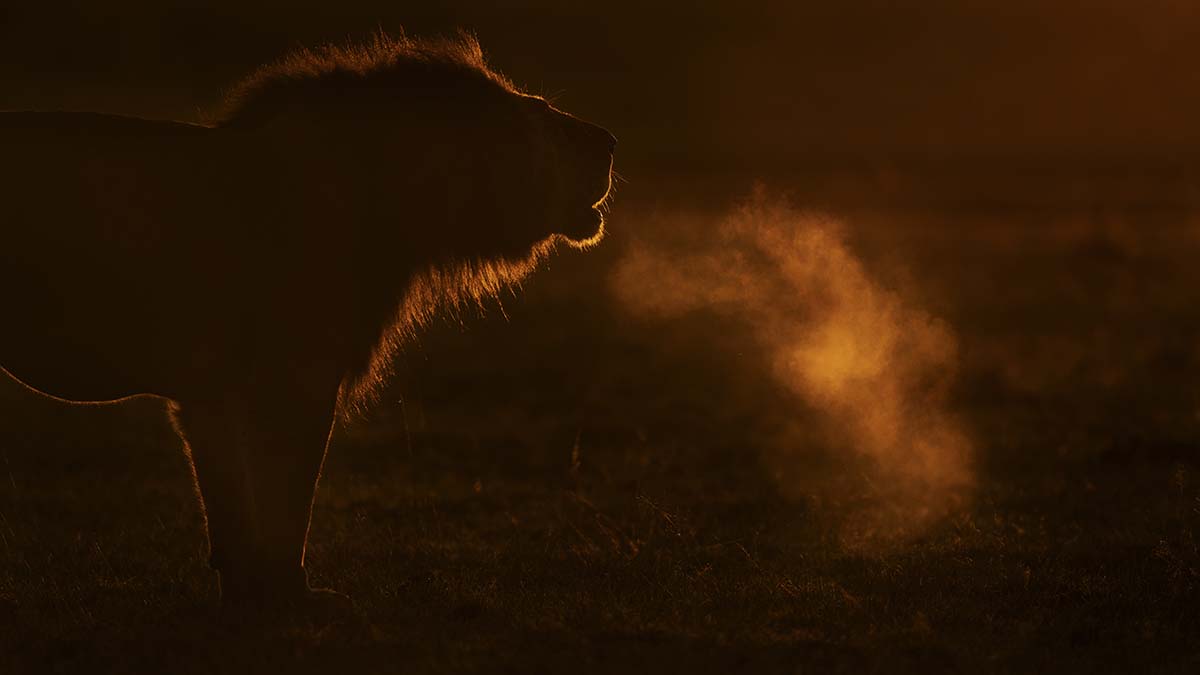
BACKLIGHT
In broad terms, backlight is when the light comes from behind your subject. When the light is directly behind your subject, typically it creates a silhouette. The trick to backlight is to have it slightly off center to your subject, up to 45 degrees in either direction. The flare of the light can illuminate details on your subject. Adding dust or mist can take it up another level. The best backlighting shots are created in the most critical first moments at sunrise or just before the sun sets.
If you are still reading, go back and glance through these images slowly. Try to imagine how different they would look if I had simply raced up, become excited about the subjects, stopped quickly, and shot them all with over-the-shoulder (front) light. What if the light was just like the pretty horses? This is the biggest mistake photographers make on safari. They get excited about what they see, holler at the driver to stop, and fire off a ton of pixels without giving any thought to the background, light, position, or settings.
CHASING THE LIGHT
Evaluating both your background and light before you raise your camera and click will instantly improve your photography and is the main focus of my Spirit-N-Light workshops. You must first evaluate your light and background before you can make a precise decision about where you need to be positioned and what settings to dial in to create the dramatic effect of the light you are envisioning. With practice, once you can do this without really thinking about it, you may find that you become more excited by chasing the light than by the subject you are photographing.
I fully enjoyed your review of lighting while on safari or otherwise. Your descriptions and examples are spot on and very informative. Thank you, stay safe and healthy.
Thank you very much!! Please also take care to stay safe and healthy!
Thank you for posting this information on how you get such wonderful photos. Your use of lighting to make such unique dramatic eye catching photographs is truly your hallmark. No one does like Piper MacKay. You Rock.
You are so welcome! Thank you for the wonderful compliment! Once I saw the light (it took several years) I passionately chase it in every image!
Hi Piper. Thanks for the explanations! I would be ready in a minute for trying it out with you on a safari… Hopefully soon in Kenia…. Meanwhile I remember shades and shadows of Odisha, hihi… Hugs, Reni
Hi Reni
You are so welcome! Right now I will be thrilled when we make it to Angola and then we can chat about Kenya or another great safari destination! Hugs back!